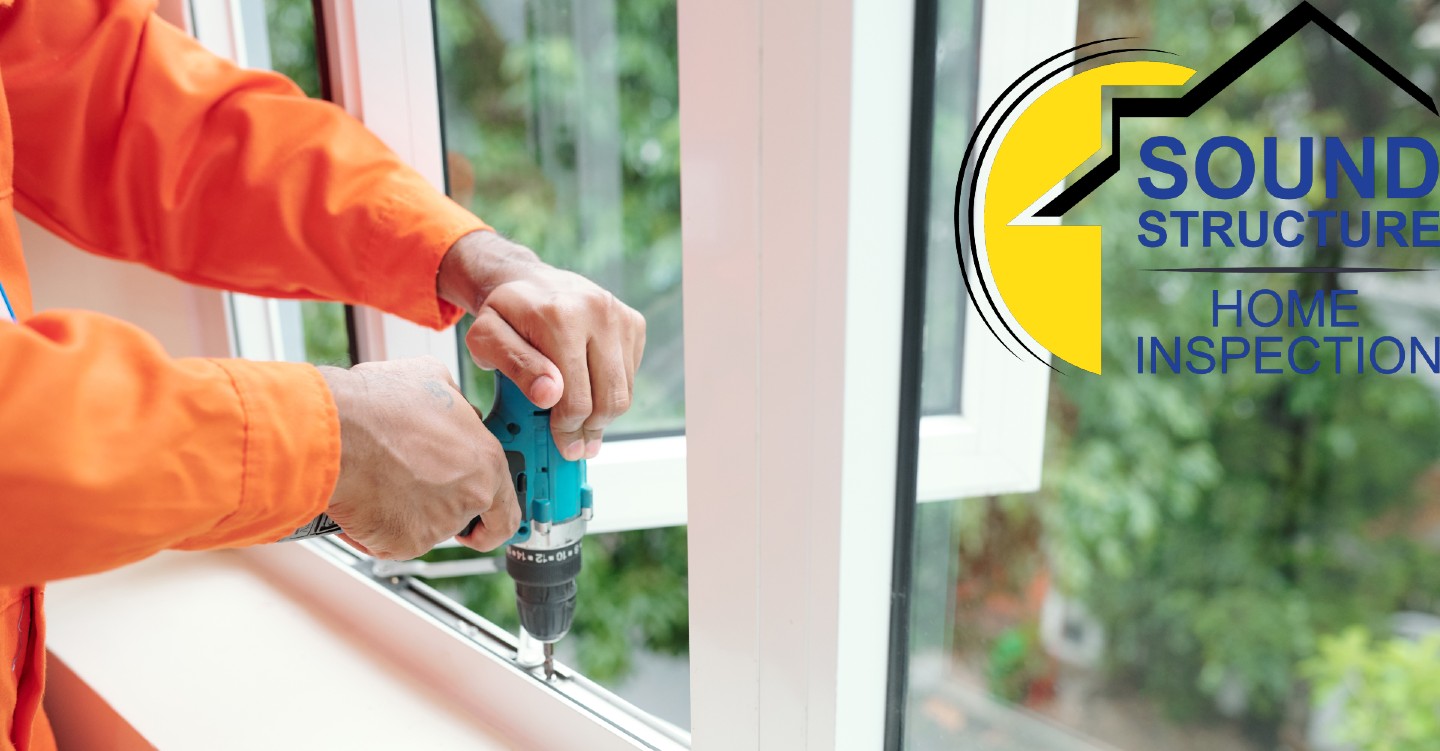
Weatherstripping Your Windows and Doors
Homeowners know the importance of ensuring that weatherstripping is installed correctly in their homes. Doing so ensures that your home is warm in the winter and cool in the summer. Many home inspectors make checking a home’s weatherstripping a key part of the inspection process. However, it should be proactively checked by homeowners whether it was added recently or during the initial construction. Here is how it’s done and what to look for.
What Forms Are Available?
Weatherstripping comes in multiple forms for both windows and doors. One of the most popular options is in tape form. As a self-adhesive, it can be cut to various sizes and installed easily. Also available are door sweeps. These keep air from leaking out from the bottom of doors. Made from either vinyl or rubber, they are attached with either screws or adhesive tape. Finally, v-seals, which are for both doors and windows, compress to fill in gaps of air entry points.
Checking For Air Leaks
You likely are aware of the core areas where air leaks can occur. However, there are additional areas that aren’t usually thought of. It’s easy to check these areas yourself. One method is by feeling around your windows and doors for any drafts. This also gives you a sense of places in your home where you may need additional insulation. An energy auditor or home technician also performs these types of inspections.
Applying Weatherstripping
While it can be done by professionals, installing weatherstripping is a relatively straightforward process. Once you decide on the material you want to use, determine how much you need. This includes measuring the perimeters of all areas where the material will be installed. You also want to install it when the temperature is over 20 degrees Fahrenheit, and on a dry, clean surface.
Other Factors To Consider
There are other things to know before you decide on installing weatherstripping. First, the best time to replace any existing weatherstripping is when you hear, see, or feel any changes to airflow around doors and windows. Experts suggest checking it every year. Also, for doors, it should be installed on the inside or around frame grooves for best results. With windows, depending on the style, place around the window jamb or between the sash and jamb for double hung versions.
Call Us To Check Your Weatherstripping
Having your weatherstripping checked is a key part of owning a home. Whether it’s done yourself or by a professional, it provides huge benefits in terms of energy efficiency. When installed correctly, it allows you to save money and keep your home comfortable all year long.


